As mentioned in the previous post about my arduino doorbell I wanted to get the doorbell and my Chumby talking.
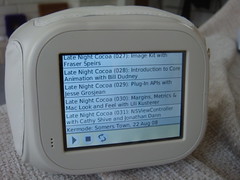
As the Chumby runs Linux, is on the network and is able to run a recent version of Python (2.6) it seemed like it would be pretty easy to …