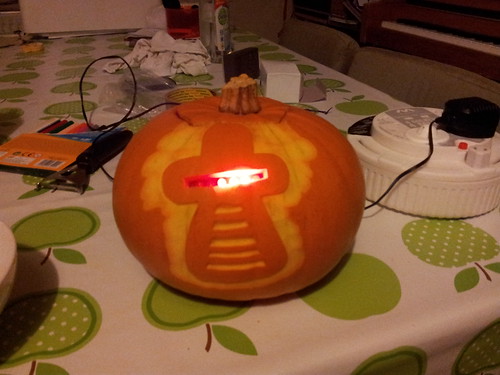
Back in 2006 the new Battlestar Galactica series was going strong (and was still rather good). So it was almost inevitable (in hindsight) that someone would make a Cylon pumpkin for Halloween. That pumpkin was featured in a Halloween copy of Make magazine I bought and then held on to for the next five years. Finally, five years later, I have made my own Cylon pumpkin:
The original used a 555 timer, 4017 counter, several capacitors, transistors etc. Which would mean a fair bit of soldering.
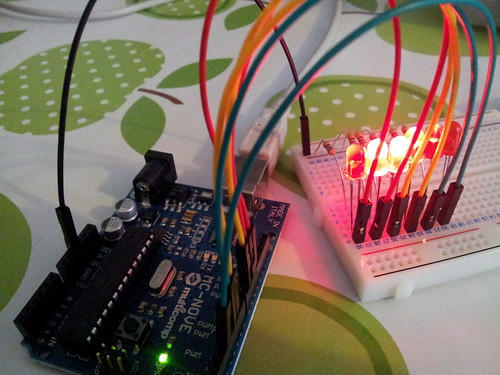
Seeing as I had an Arduino lying around and an Arduino can control six LEDs with PWM (pulse width modulation) in code this was something I could whip up quickly with a small child running around. So the first job was breaking out the breadboard, resistors, LEDs and Arduino to test the circuit out and write some code:
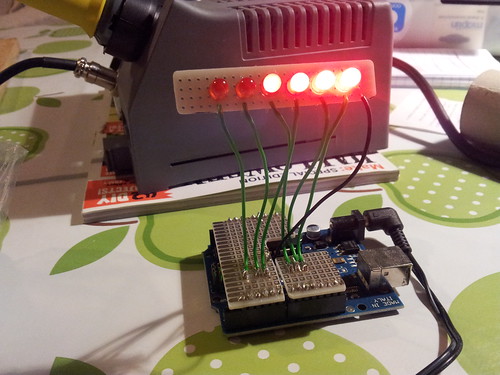
That went pretty well and I then surprised myself by managing to solder the LEDs etc to make a simple "shield" for the Arduino. The LEDs were on a strip so they could be attached easily to the inside of the pumpkin.
Later in the week I carved the pumpkin:
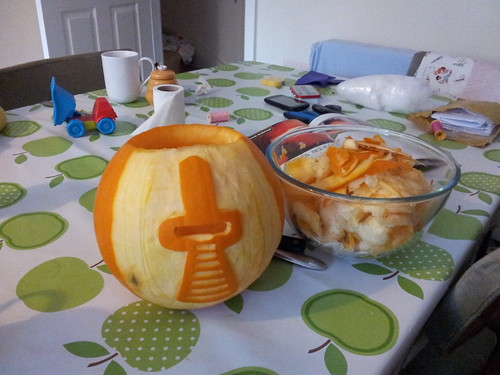
Sadly though I didn't take out enough of the flesh, so a couple of days later it "melted" and I had to throw it out. Luckily I'd been leaving it to dry out and so hadn't installed the Arduino.
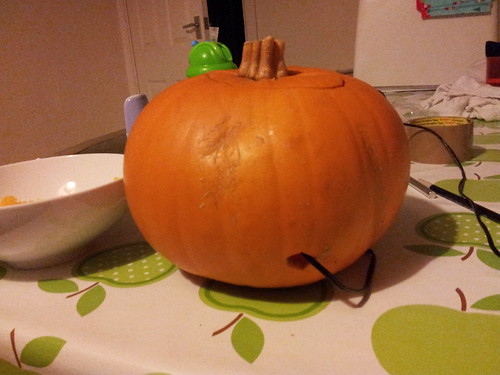
So I acquired another pumpkin and started again:

This time I really made sure I removed as much flesh as I could (which contains a surprising amount of water) and it didn't go squishy.
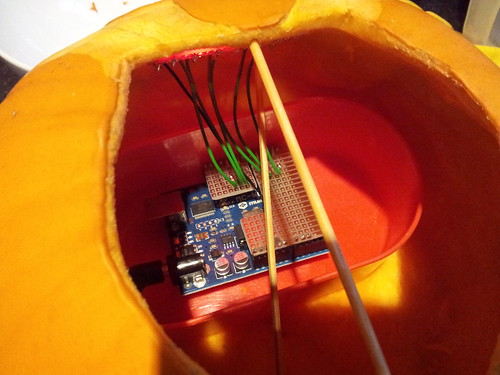
I made sure I placed the Arduino inside a plastic tub to keep it off the inside of the pumpkin. Some bamboo skewers were used to hold the eyes/LEDs in place and stop the lid falling down:
I also made a small hole at the rear of the pumpkin to feed the power supply for the Arduino in:
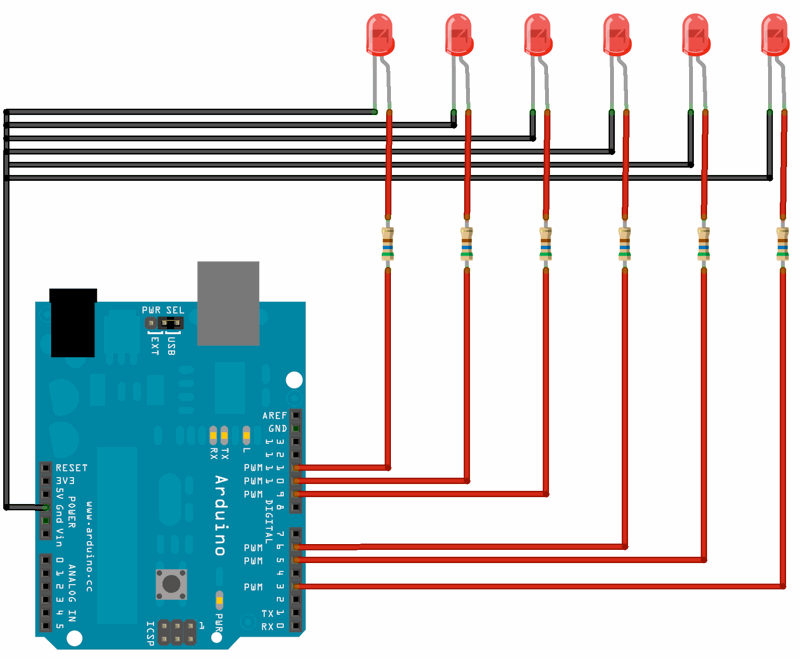
I've put the code and Fritzing diagram on github for anyone who wants to do something similar.