I quite enjoy some casual macro photography and am always taking pictures of various projects (which are usually on the smaller scale). For those types of photos you ideally need good light and a steady hand. When you don't have good light then a tripod helps a lot, but a remote camera trigger is also useful. The main reason is so that you don't shake the camera body when you press the shutter button.
After seeing a DIY guide to making a remote I thought I'd have a go at making my own. Most of the remotes I'd seen cost about £40. The parts I used to make my remote were only about £10. Of course it helped I already had a soldering iron etc...
The circuit is really simple, it just involves soldering a couple of push button switches to a 2.5mm stereo socket. Both switches connect to ground (the outer part of the socket). Each switch then connects to the other "side" of the socket.
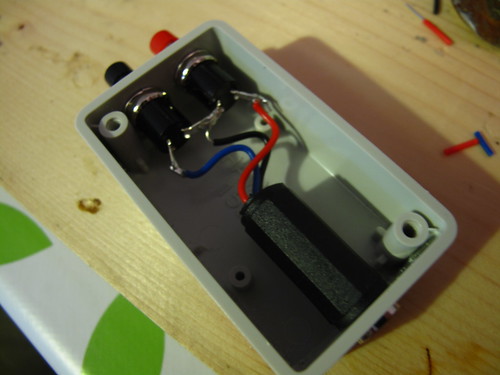

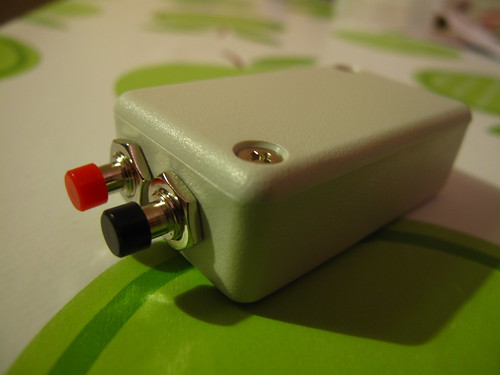
I mounted the switches (black for focus and red for shutter release) inside a small ABS plastic project box from Maplins. It's quite a good size to hold in your hand and operate both switches with your thumb.
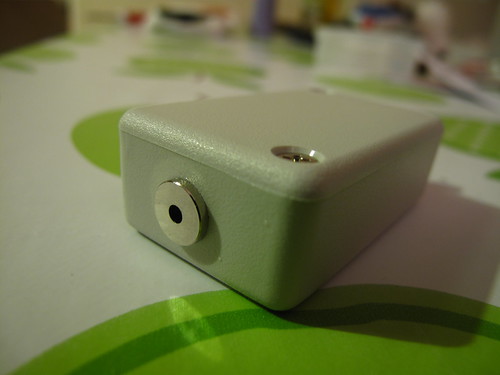
I did also attempt to solder up the lead to go from the remote to the G10, but after a failed attempt I decided to order a lead via Amazon. The lead cost less than the unsoldered 2.5mm jacks cost.
So after a wait of a few days I got the lead and was very glad to find out that everything did indeed work as intended. I had made sure everything was connected right with my multimeter, but nothing beats trying something out in it's intended use.
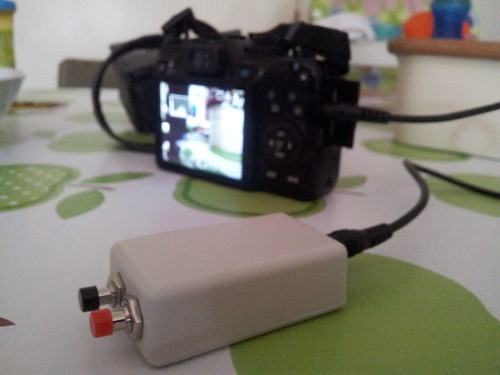
So far this has probably been my most successful soldering/electronics project. Great to have something that simply worked straight away with no need to tweak anything.