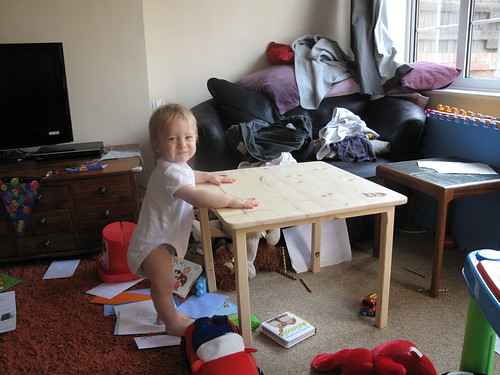
So William is a year old now and to celebrate that fact I decided to make him a table. Now given that my last piece of woodwork was a doorbell, hastily constructed using a coping saw on the doorstep of the previous house, this could have gone badly. Luckily it went pretty well. The table I've made has slightly wonky legs, but it's otherwise sturdy and stable.
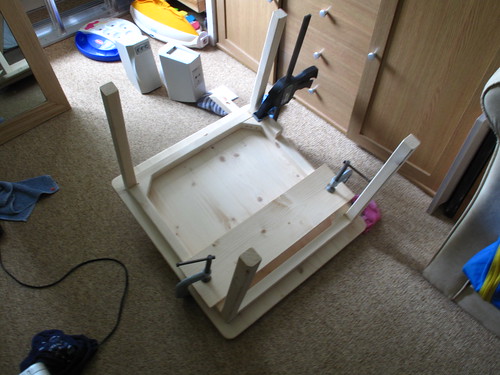
Next time I make something like this I'm going to try to do it better (of course). In particular I think I shall try and make some proper mortise and tenon joints, as they'll help to keep things squarer. I opted to use dowels to pin the legs together, which meant the legs could move around too much before the glue set.
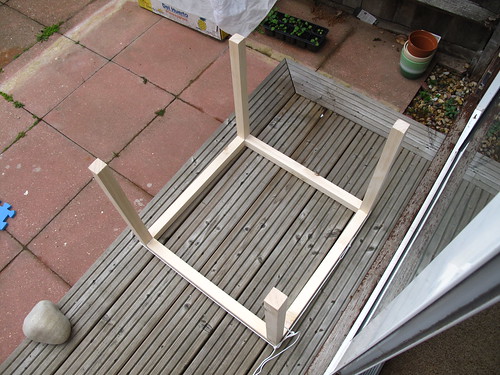
I then had to also add in some braces to the legs, which I fixed using brass screws to provide extra rigidity and strength. One good thing I did learn at this stage though, was that a tenon saw and a mitre block are a wonderful combination! Without them the legs would have been even wonkier.
Once the leg frame was made, next step was the table top. For this I leaned heavily on this guide to building a simple sturdy wooden table on the make blog. Sadly I didn't have some of the tools used there (e.g. a router) so again made use of dowels to join the separate pieces of the table top together. This got easier once I also invested in a jig to help hold the drill bits steady and at 90°.
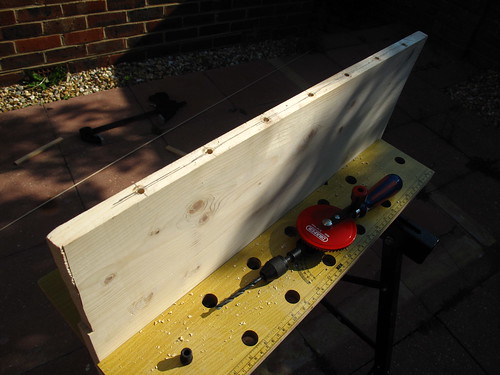
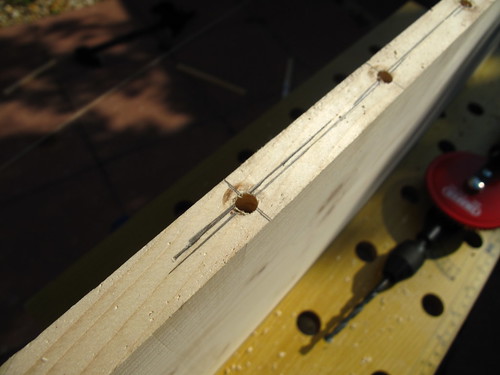
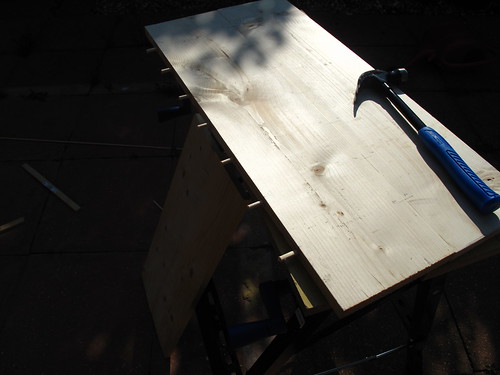
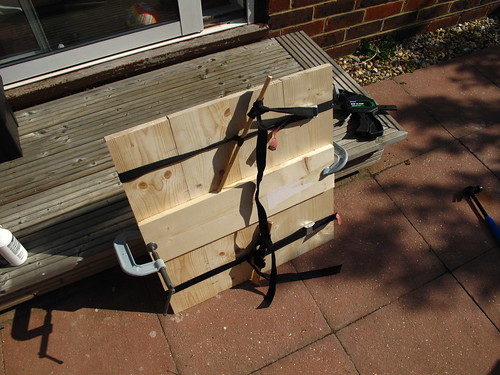
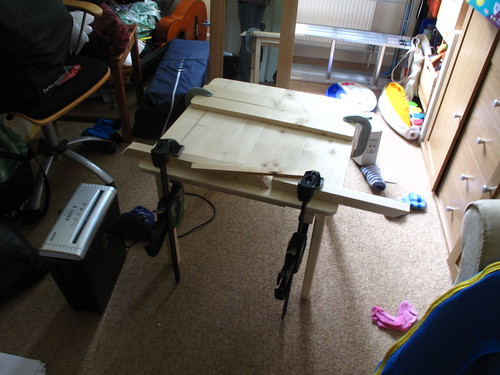
With a fair bit of clamping and strapping the table top came together pretty well. Though there were some small cracks left between the pieces in a couple of spots.
At this point I could then test out the table a bit.
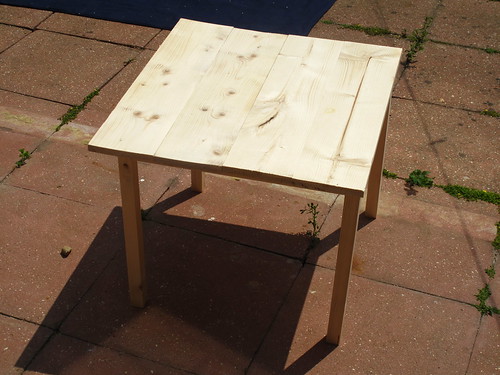
The top was a little bit wonky. This was in large part to my poor choice of timber - I failed to check the timber was itself straight. Never the less I soldiered on and clamped the table down after applying some water to one side. After trimming the edges and sanding the table the wonkieness was less evident and things started looking much better.
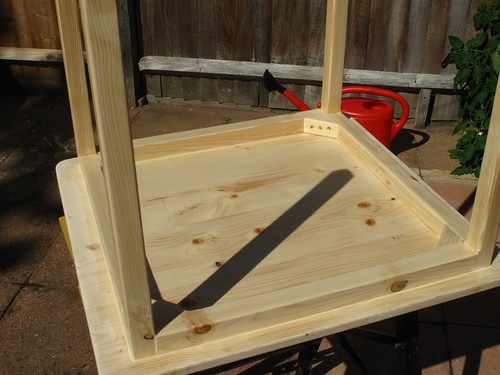
Next more holes were drilled and dowels inserted to pin the top to the frame. Then after the application of a whole load of glue more clamping occurred.
This final clamping to the table top really helped to reduce the curve of the table top further.
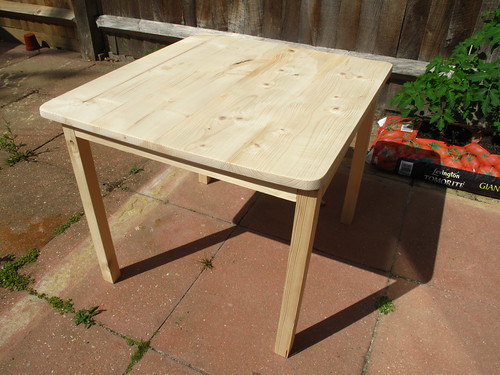
I then applied some wood filler to the cracks in the table top and also sealed off the join between the leg frame and the table top. Then after that was all dried and sanded down a coat of clear indoor varnish was applied to the legs and underside.
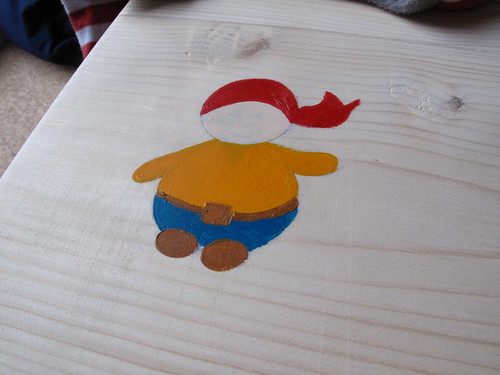
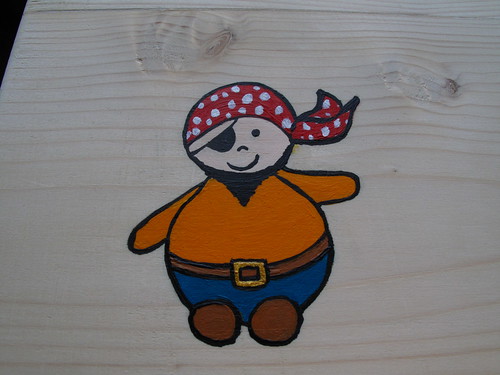
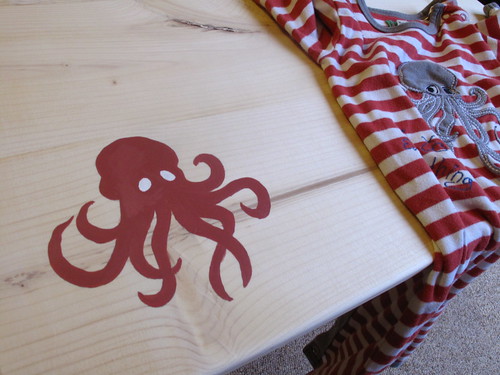
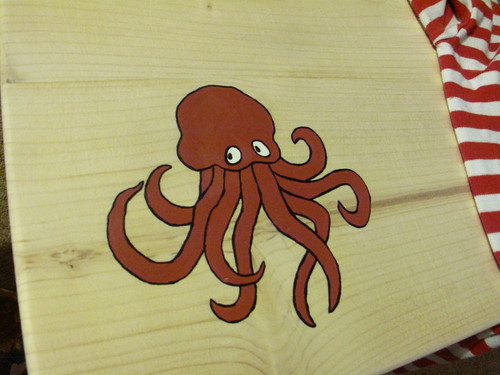
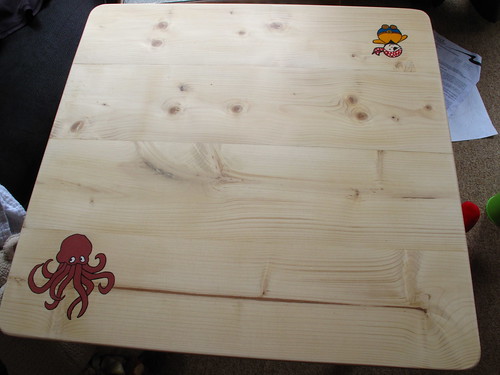
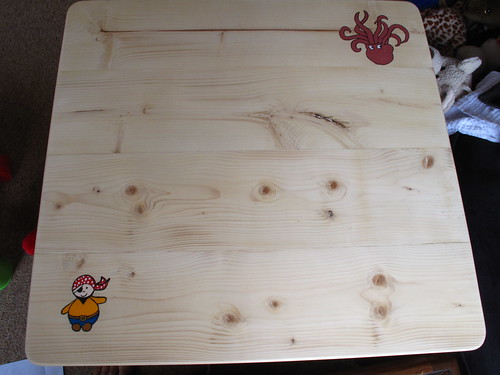
At this point Heather and I decided it would be nice to add some pictures to the table. So we broke out the paints. Heather painted one of William's pirate toys and I painted an octopus/kraken that was on some of his pyjamas.
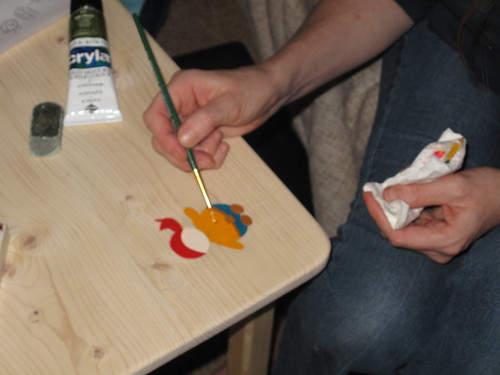
After that the top was varnished as well. We finished doing all of this just the night before William's actual birthday. I had started with a couple of months ahead, but it always takes longer than you think.
I'm very happy with the final outcome. It was very satisfying making something semi-sizable with my hands. I'm also starting to acquire some better tools and a few more skills, so hopefully future projects will go even better.
The main thing though is that William seems to like the table.