How to sew a felt horse
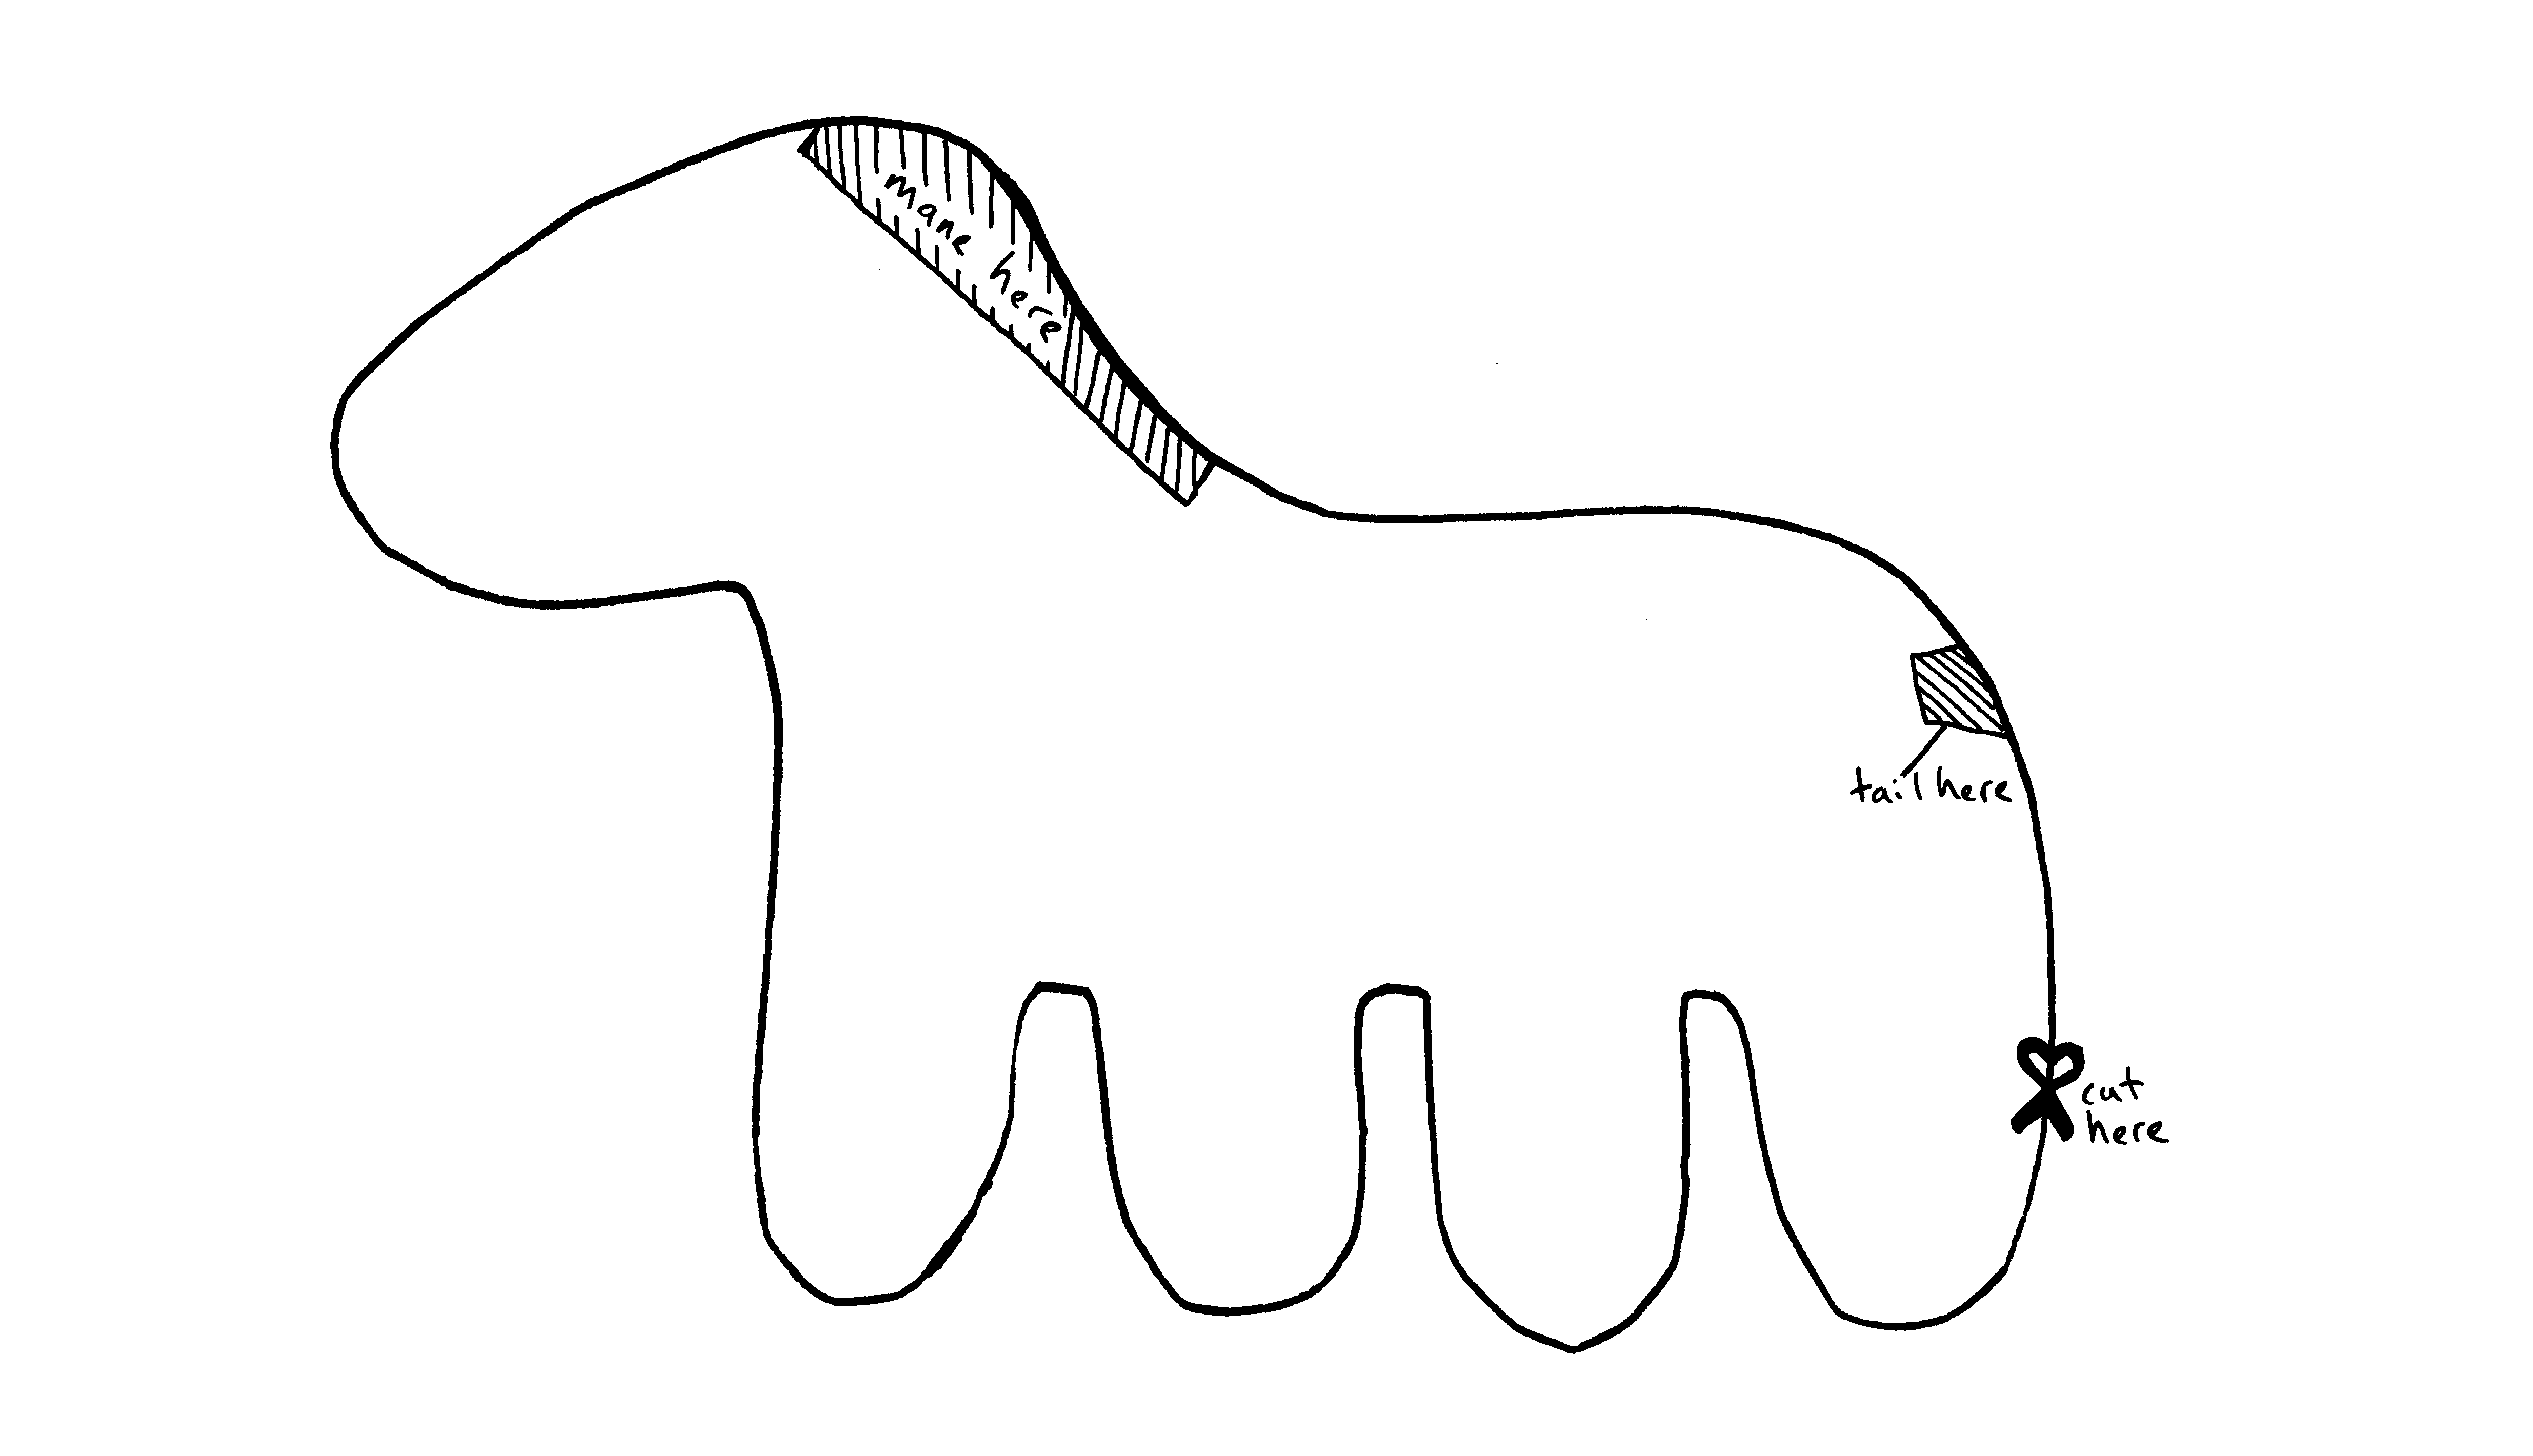 Fig1: Horse Template
What you'll need
- Two colours of felt (one for the body, one for mane and tail)
- Two colours of cotton thread (one to match body and one for embroidering the eyes)
- Stuffing or wadding
- Some card (for the template)
- Needle, Pins & Scissors
Directions
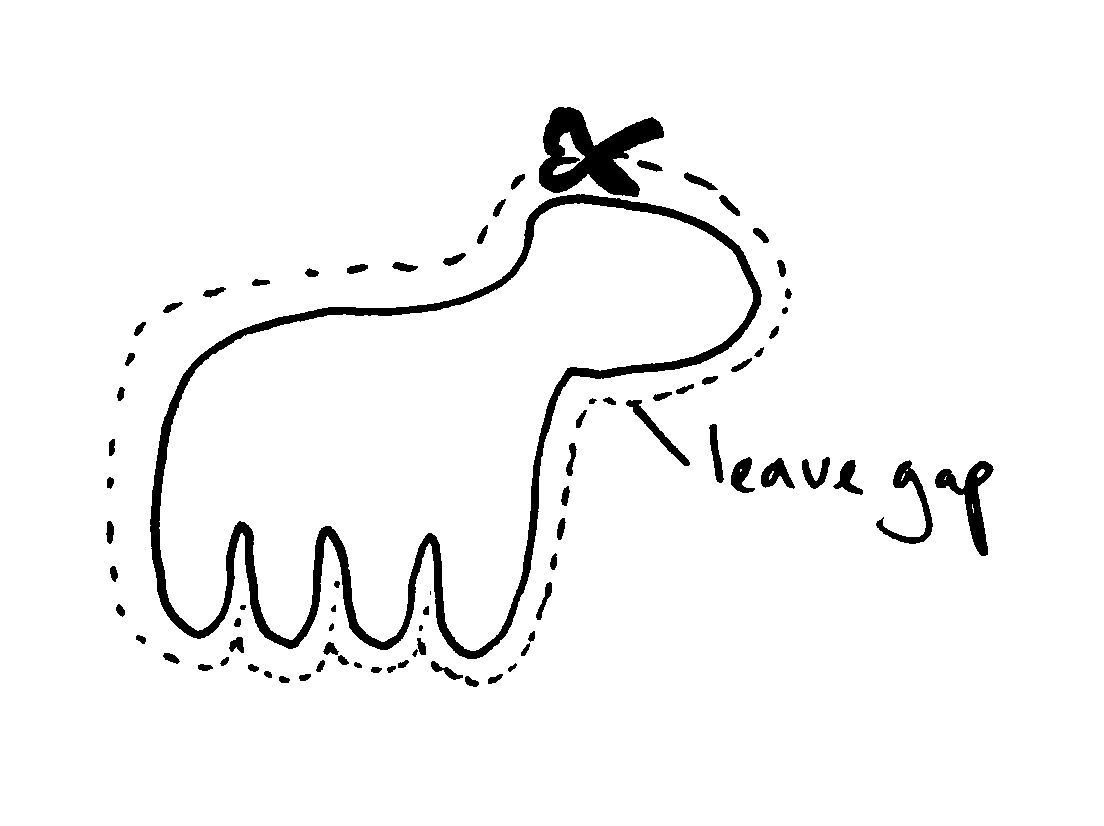
- Cut out the body template in Fig1
-
Trace two body shapes onto the body colour felt using the template (leaving plenty of room around the edges)
A softish pencil should be ok for this, but make sure you reverse the template - to create mirror images - so the pencil marks will remain inside the finished horse
-
 Cutout the body shapes from the felt, leaving a 1cm gap around the pencil marks
You'll be sewing along the lines you traced, so you need to leave enough space otherwise things will come apart
-
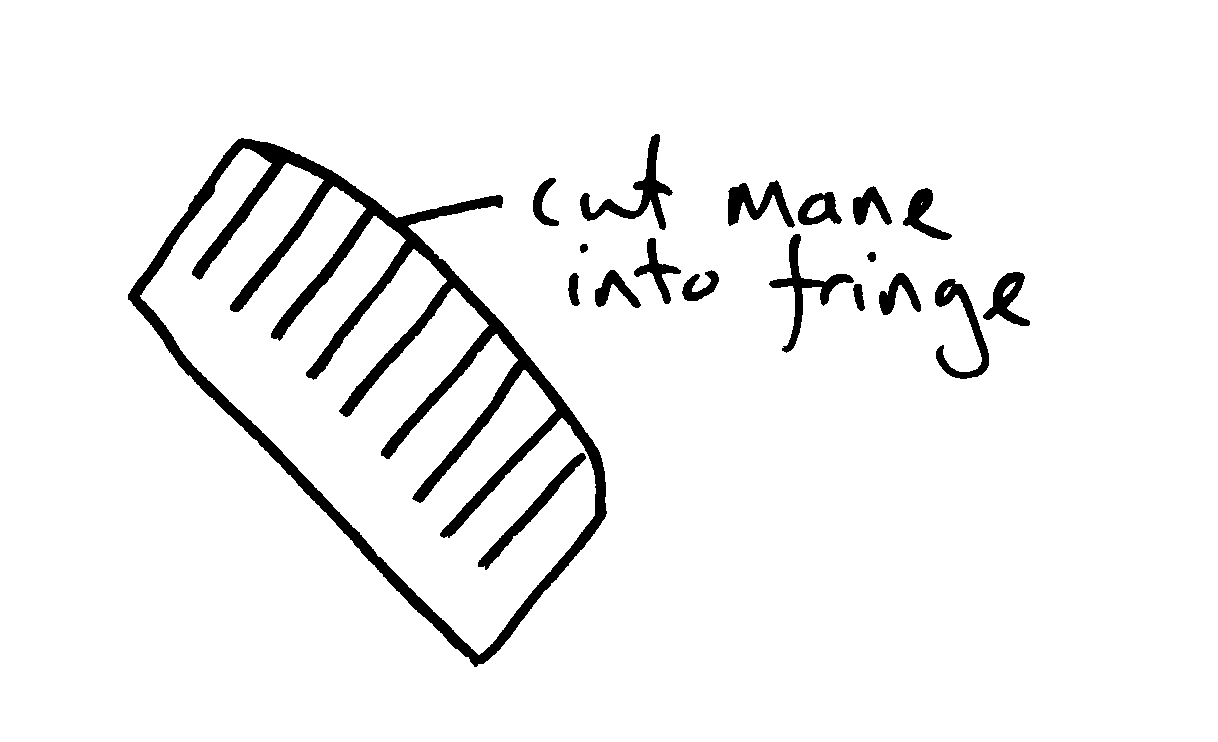
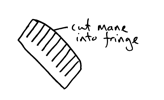 Cutout a piece for the mane from the other felt
You'll want to fringe the mane and shape it to your own taste
-
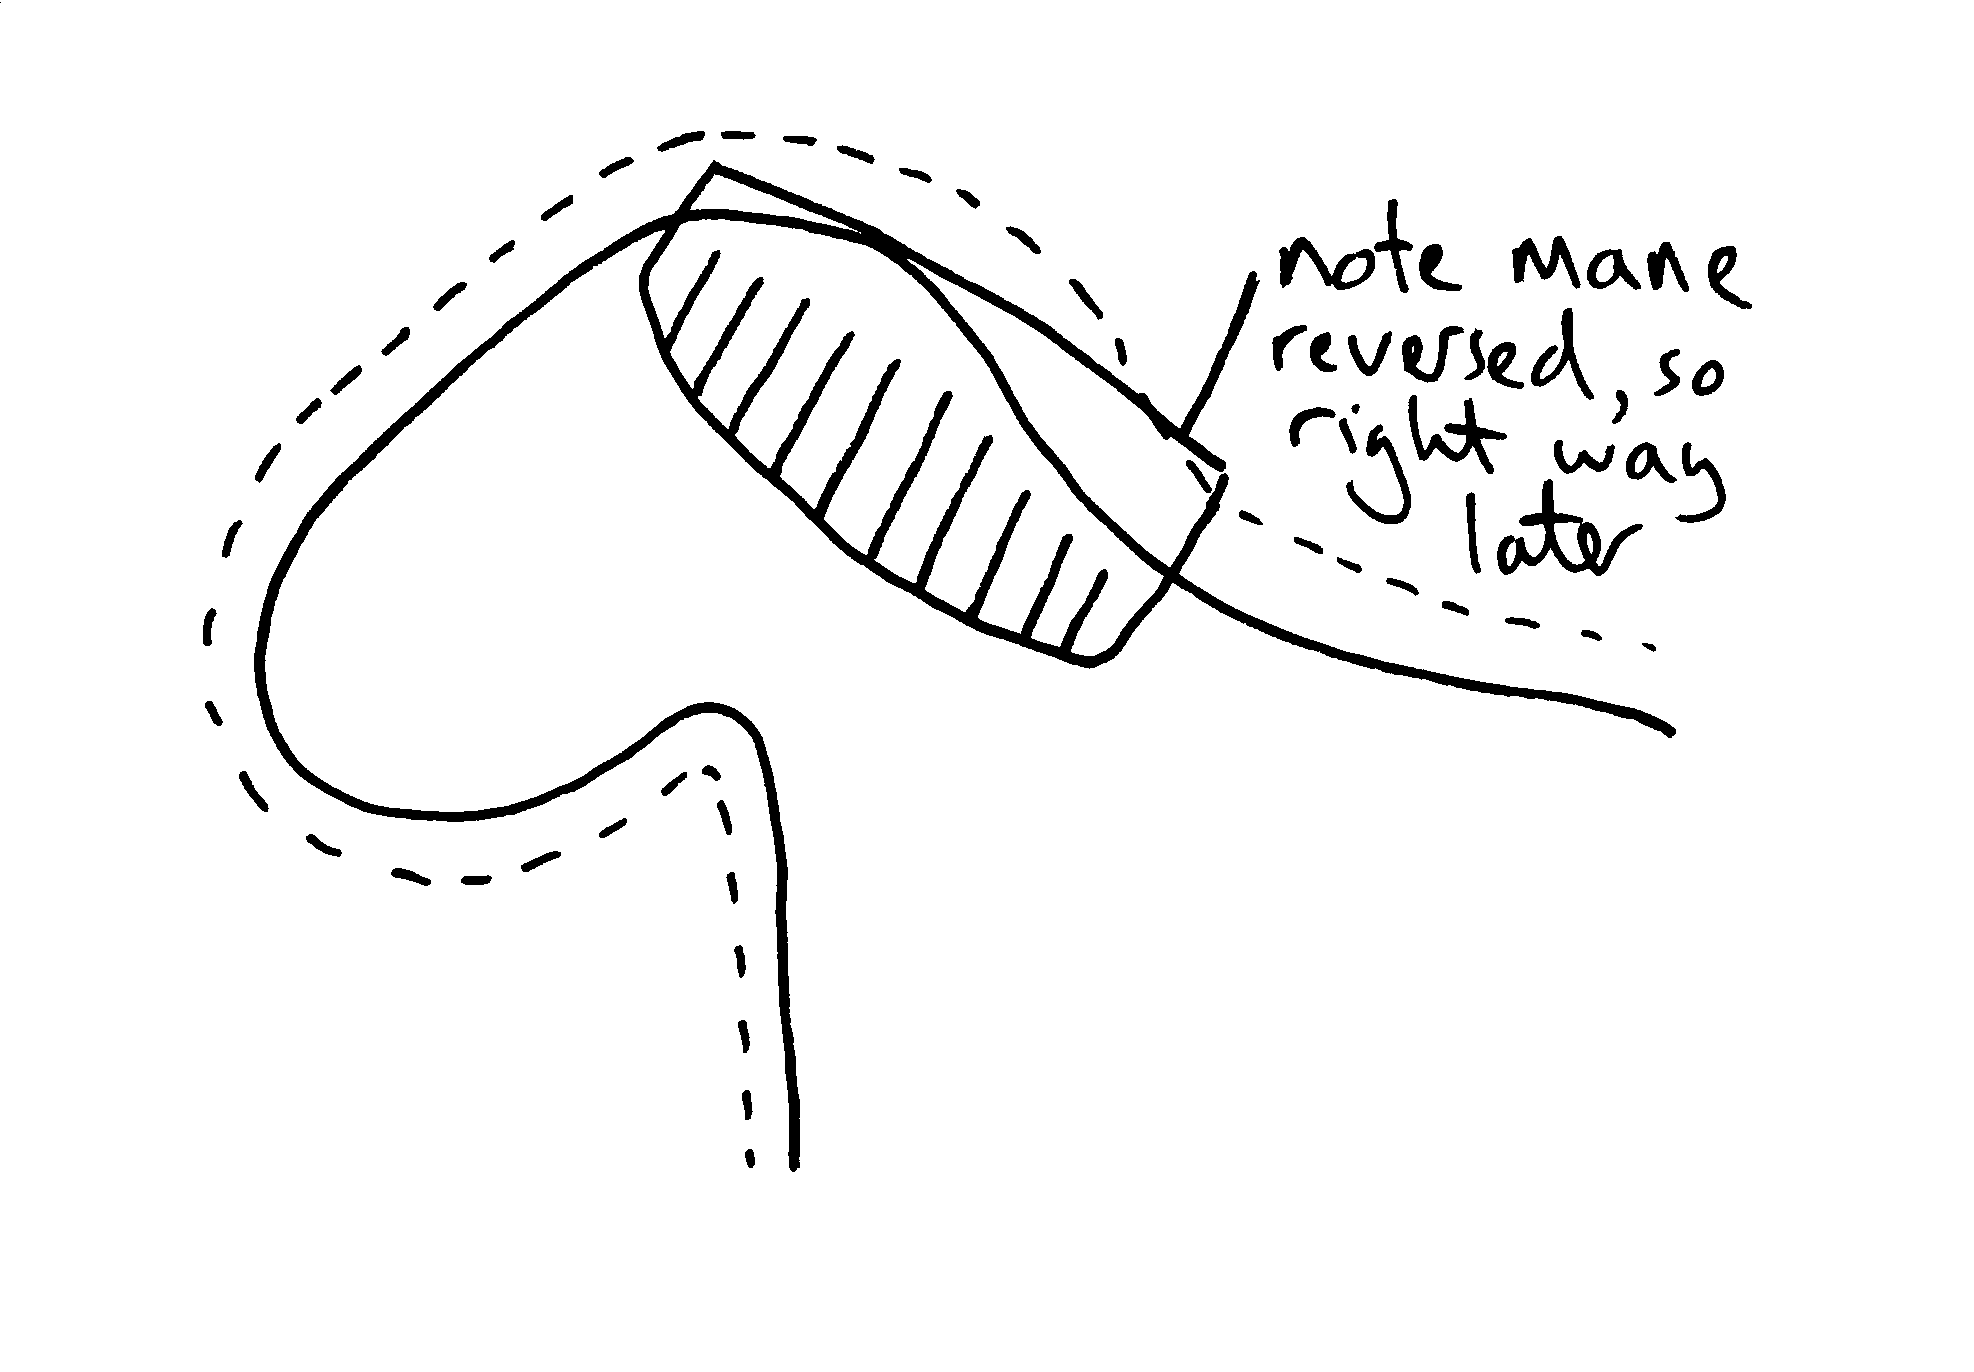
 Pin the two body shapes together - sandwiching the mane in-between - with the pencil marks lining up and visible on either side
Pay attention to how you pin the mane - it needs to end up the right way round when everything is turned inside out
-
Using the cotton that matches the body felt colour, sew (backstitch) around the lines - leaving at least a 4cm gap for turning the sewn body inside out.
Start at the top of the back leg, sew around the legs to the top of the horse's bottom (above where the tail will be)
-
Turn the body inside out - hopefully you've left enough of a gap!
The other end of a pencil may be needed to push the legs and head the right way out
-
Stuff the body
Again the other end of a pencil may be useful here
-
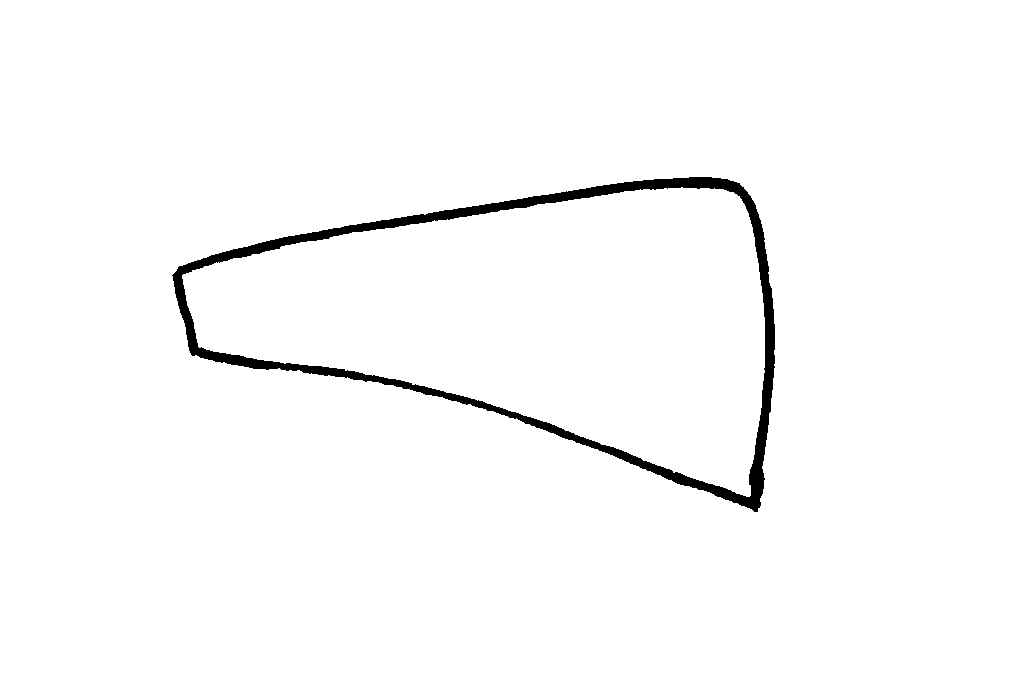
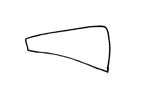 Cutout a piece for the tail from the same felt as the mane
Again you'll want to shape the felt to you own taste
-
Insert the tail into the gap in the body and sew the gap closed (cross-stitch)
Fold the edges in as you sew to make it tidy
-
Now you'll want to embroider the eyes
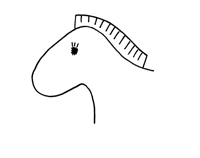
- Pick a good spot on either side of the head
- Sew a circular shape for each eye - some eyelashes look good too
- Pay attention to where you tie off the thread, to keep things looking tidy
- You should now have a finished felt horse that looks something like the one here:

Tip
After tying off thread, instead of cutting the loose end off, sew the thread through the body to the other side. On the other side cut the thread off and let in go back into the body, so you can't see the stray end.